The new TMG Beta 2 was released yesterday:
http://blogs.technet.com/isablog/archive/2009/02/06/forefront-tmg-beta-2-is-released.aspx
Although a beta version, the management interface, clean, shiny and slick, will make Check Point feel a little, just a little bit jealous. ;)
Cisco’s ASDM ? What’s that ?(OK, I’m a mean person, feel free to excuse me).
Let’s quickly navigate through some of TMG Beta 2’s features(there are many of them). Remember this is just beta stuff(ignore the fact that the machine’s name is tmgb1).
Outbound HTTPS Inspection
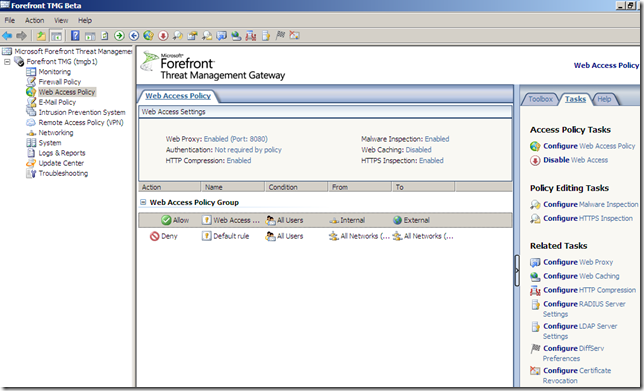
A new feature present out-of-the-box in this Beta 2 release(for ISA Server 2006 an add-on from Collective Software called ClearTunnel made this possible). We can configure it from the Web Access Policy node, Tasks panel(on the right side), above the Configure Malware Inspection:
We can validate the server’s certificate and inspect the HTTPS traffic, or just validate the certificate:
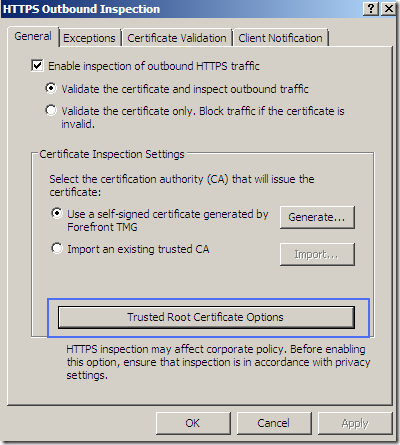
We can access the options of the root certificate used to sign on-the-fly the servers’ certificates. This certificate must be trusted by the clients, otherwise their browsers’ will display a warning.
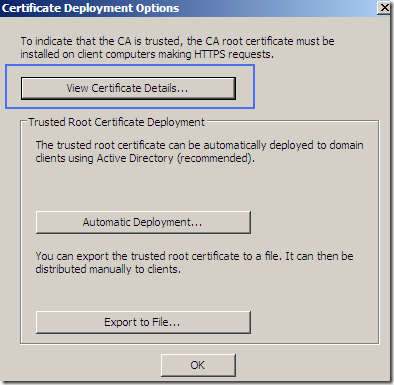
And this is the root certificate we were talking about:
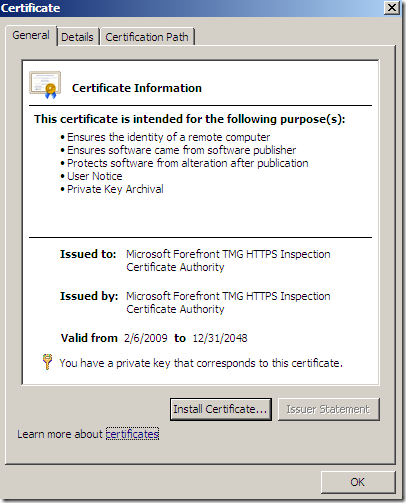
md5RSA ?
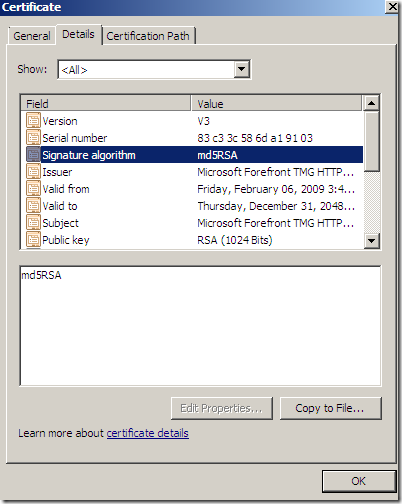
Key usage:
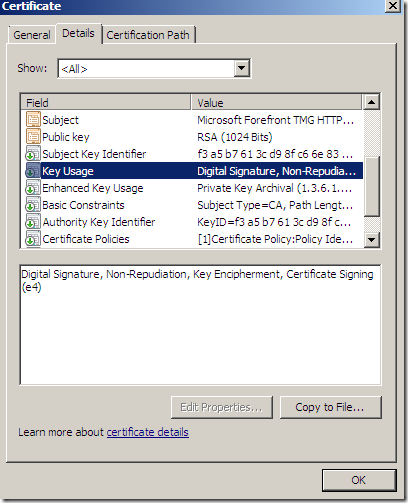
EKU:
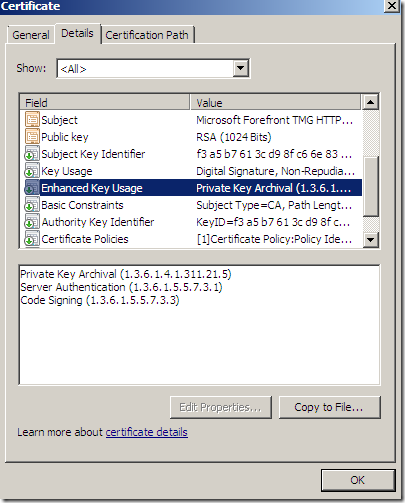
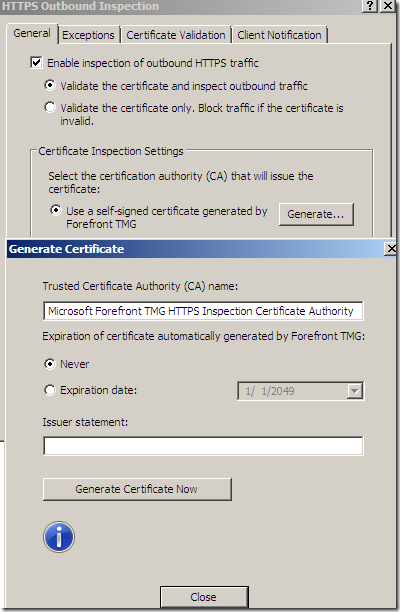
Generate the self-signed cert:
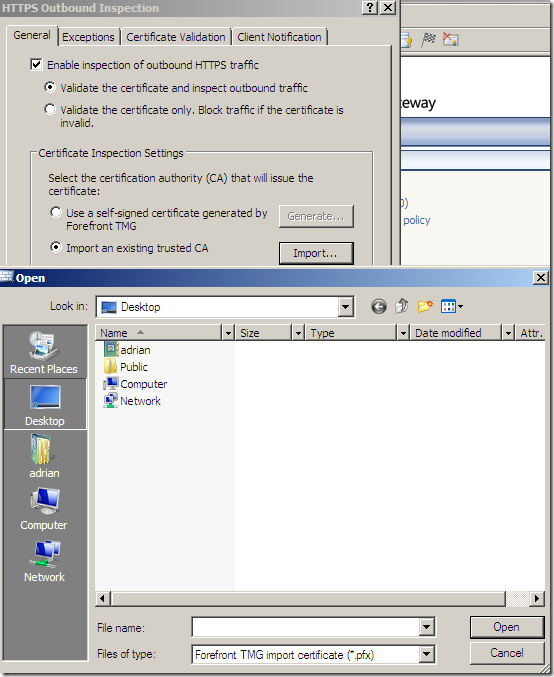
Or we can import such a certificate if we want to:
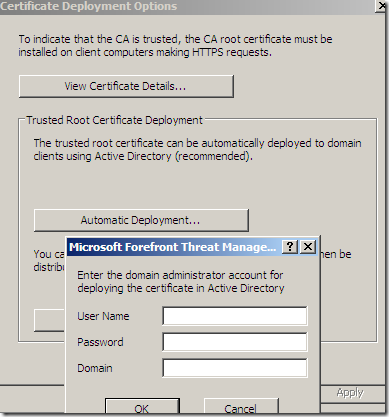
We can distribute this certificate via Active Directory. Note that different browsers' may have their own trusted CAs stores:
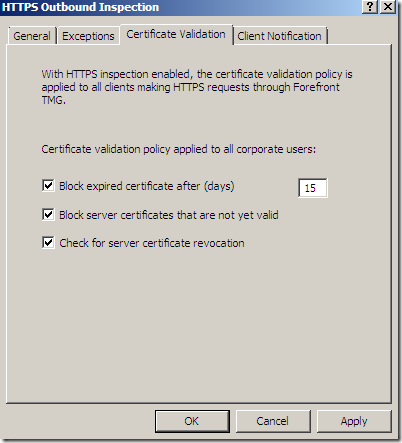
Some validation’s options:
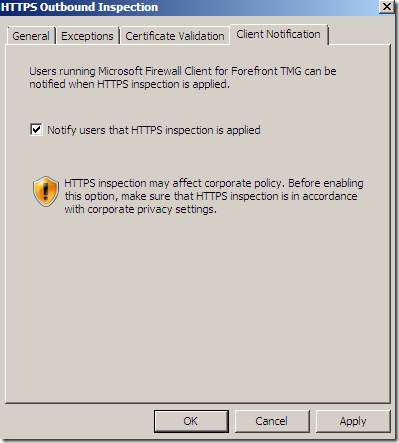
Clients running the Microsoft Firewall Client for Forefront TMG can be notified when HTTPS inspection is applied:
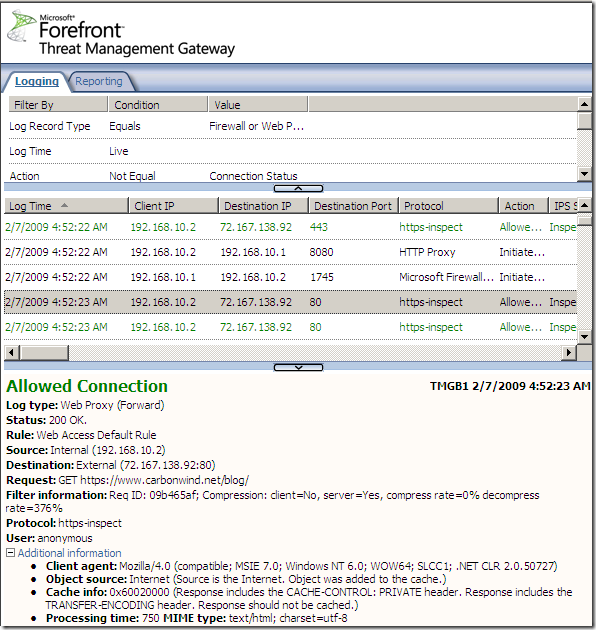
Let’s see it in action. For example I’m going to a HTTPS web site. The logs on the TMG show the https-inspect “protocol”:
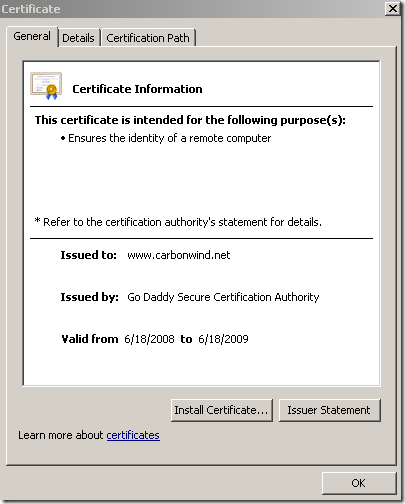
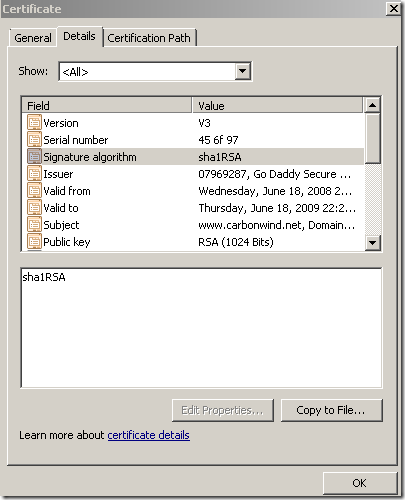
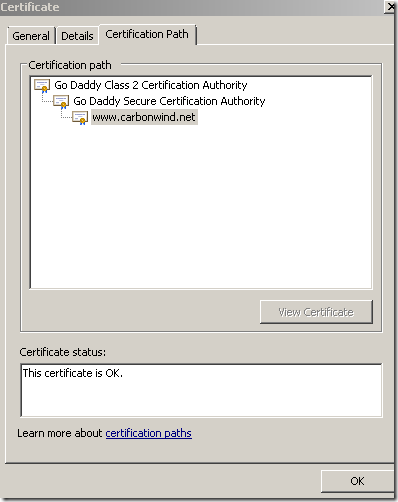
Here is how the real certificate of the web site looks like:
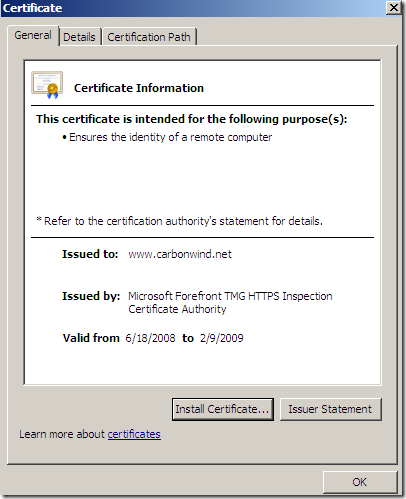
And here is the certificate that the browser on the client will see:
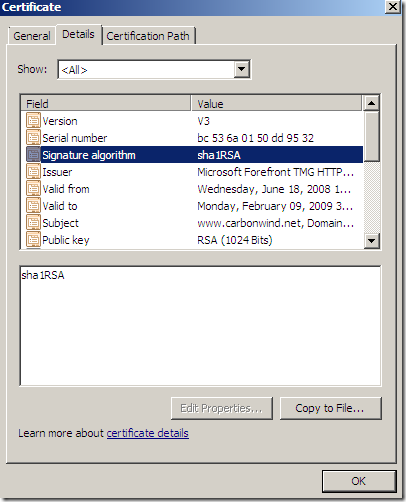
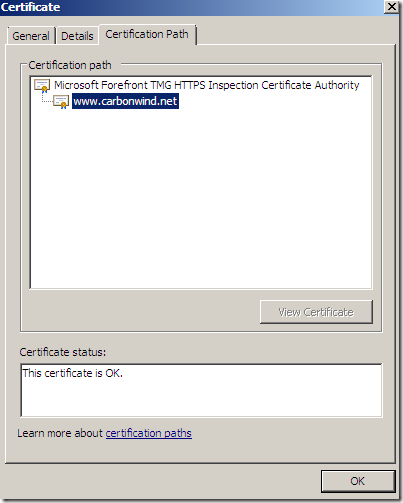
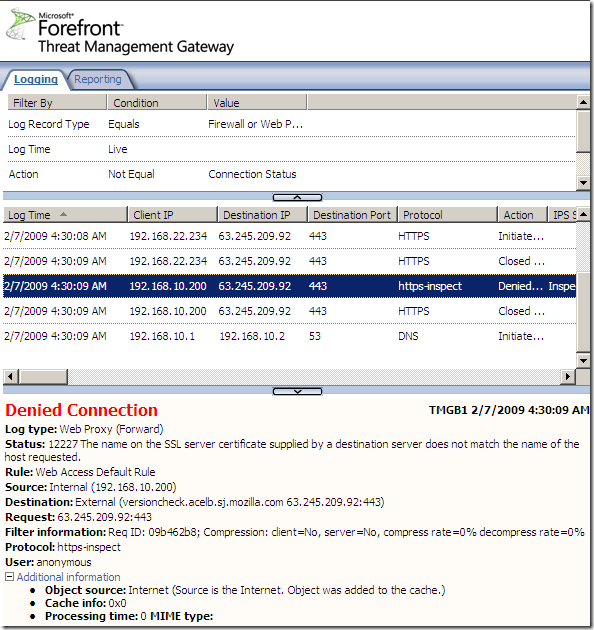
In case the name on the SSL server certificate does not match the name that the client requested, TMG will deny this connection:
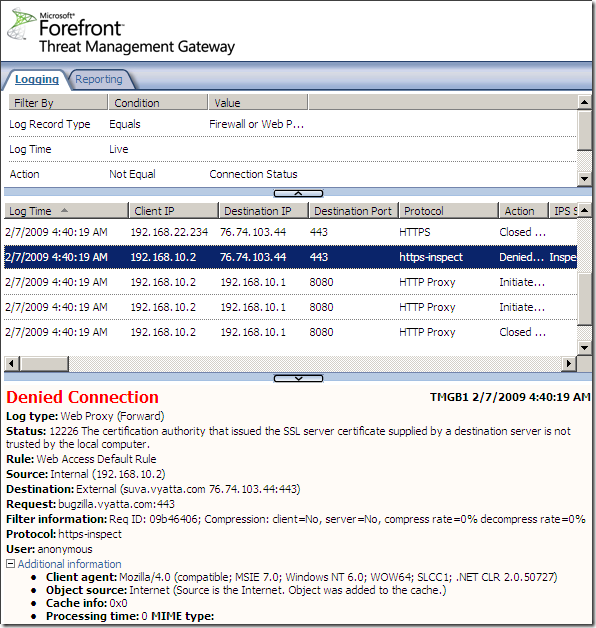
Also if the CA that issued the web server’s certificate is not trusted by TMG, the connection will be denied:
And here we are, you know the old story, how do I block Skype with ISA ?
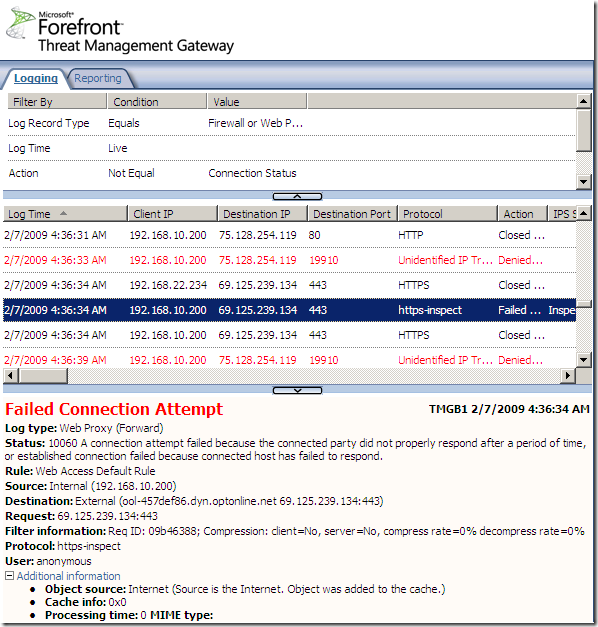
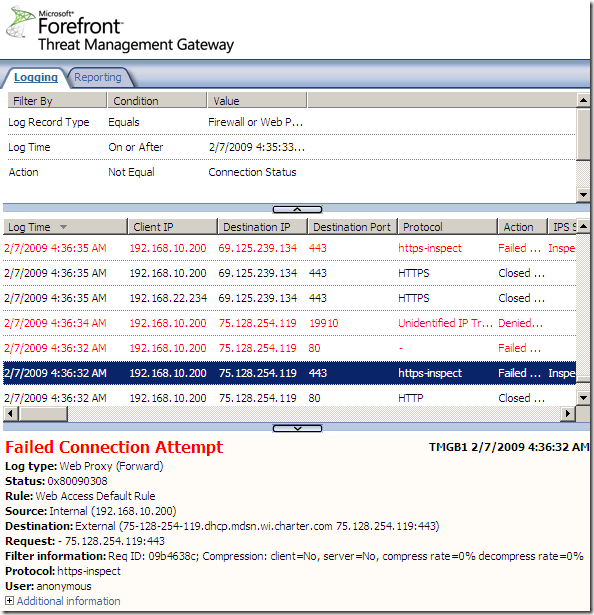
That’s no longer an issue. Skype does not use true SSL, and due to the HTTPS inspection, the SSL connections will not be completed, and Skype will fail to escape over TCP port 443, as it did before. On the TMG logs you will see a lot of failed logs of the https-inspect “protocol”:
Network Anti-Virus/Anti-Malware Software Rendered Useless without Outbound SSL Inspection ?
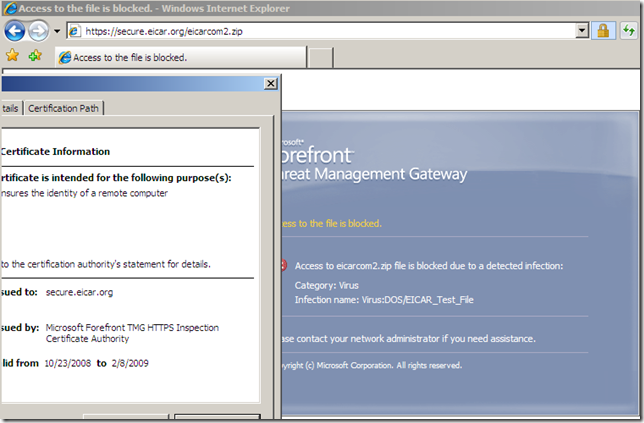
No longer the case, right out-of-the-box:
Malware Inspection
We can globally Configure Malware Inspection from the Web Access Policy node, Policy Editing Tasks:

Options grouped together:
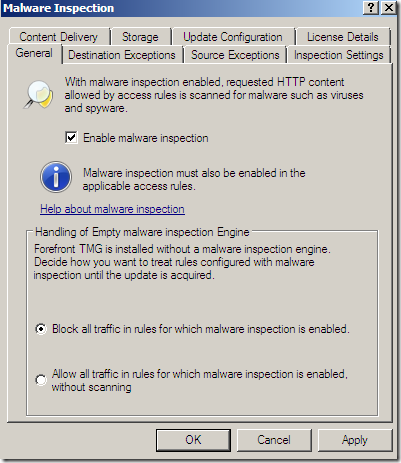
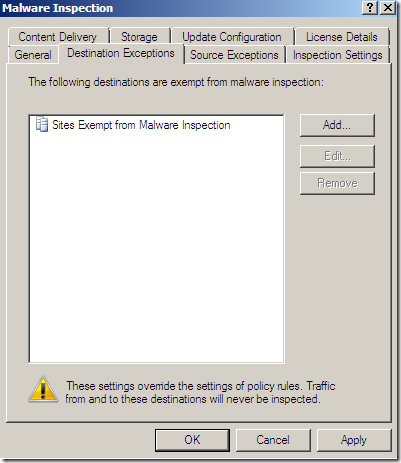
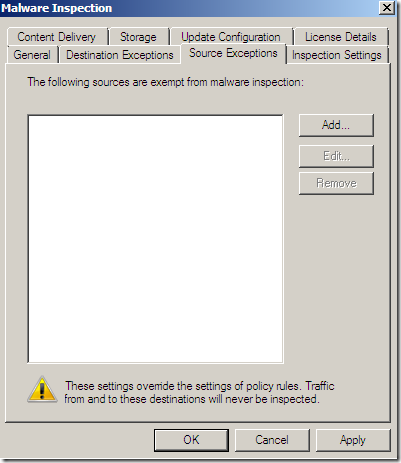
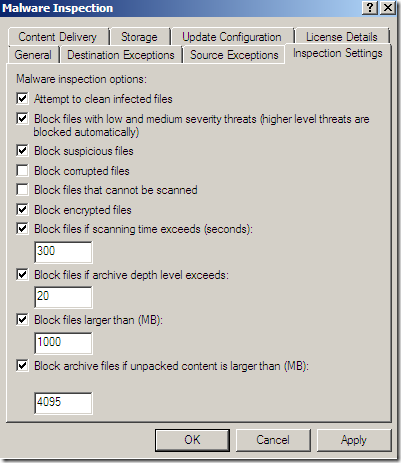
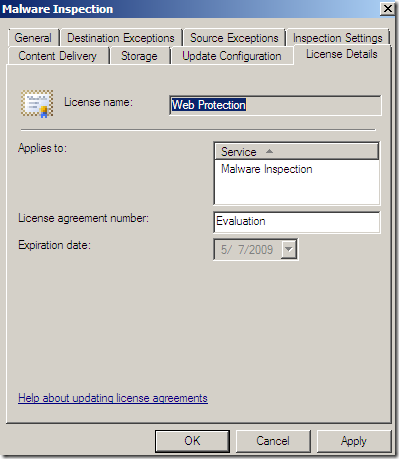
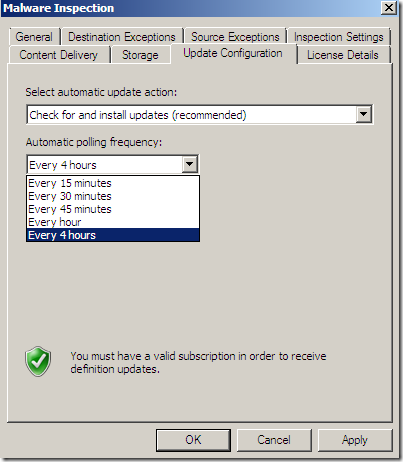
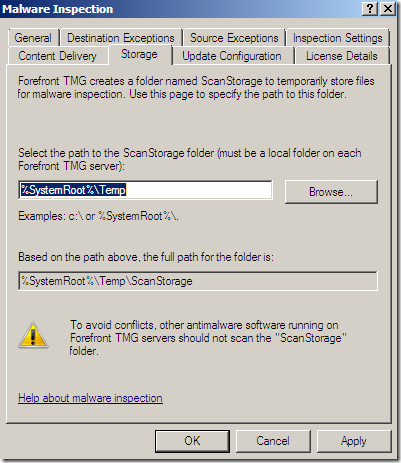
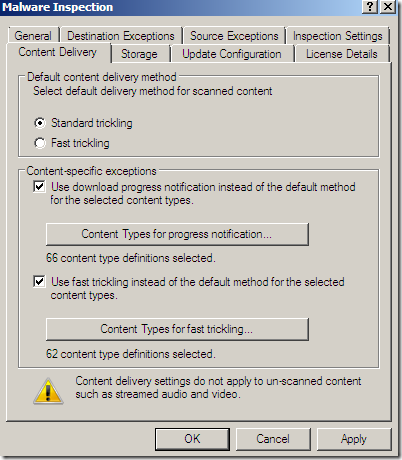
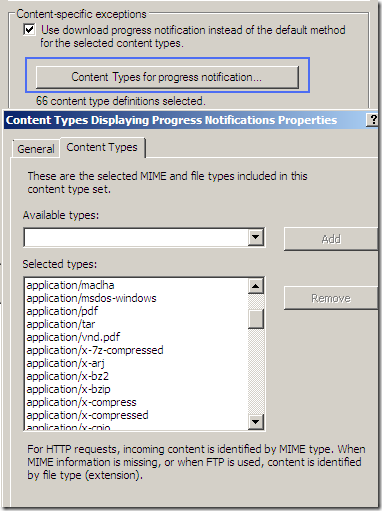
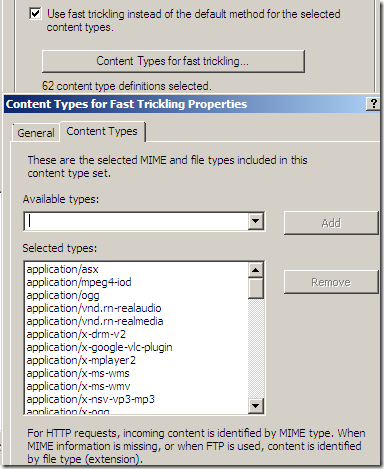
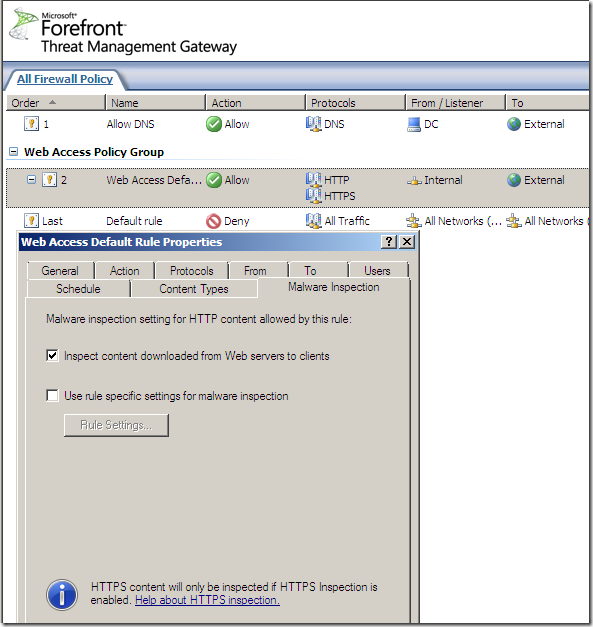
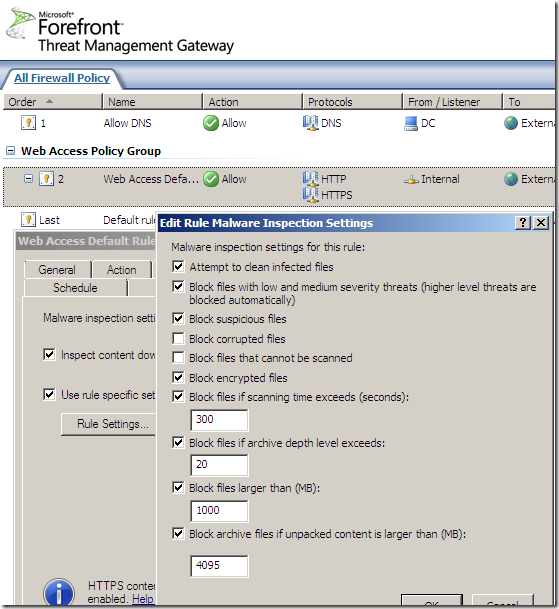
Per rule settings:
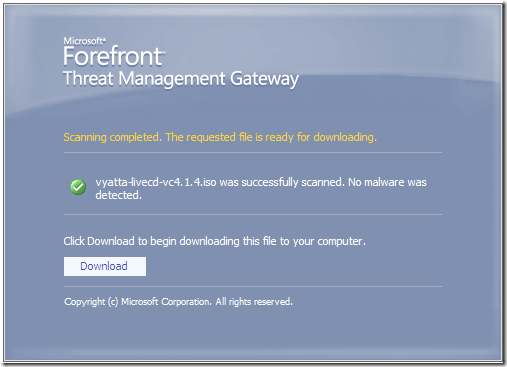
No malware detected, accessing various sites:
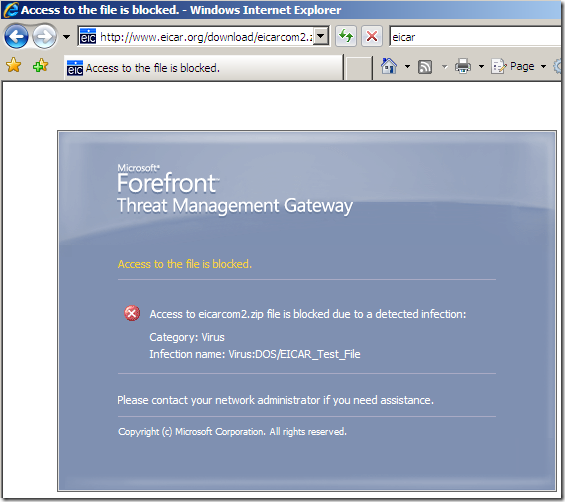
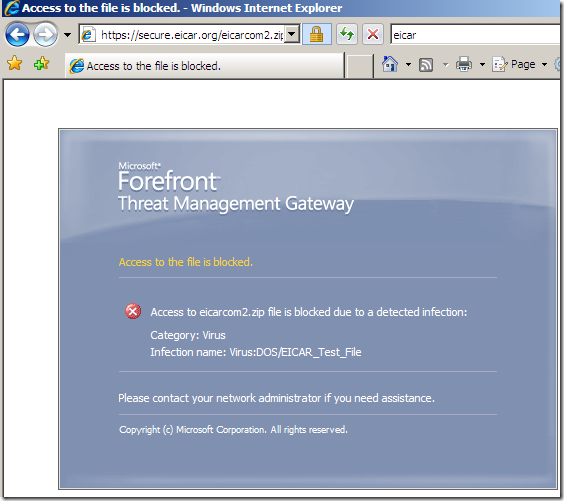
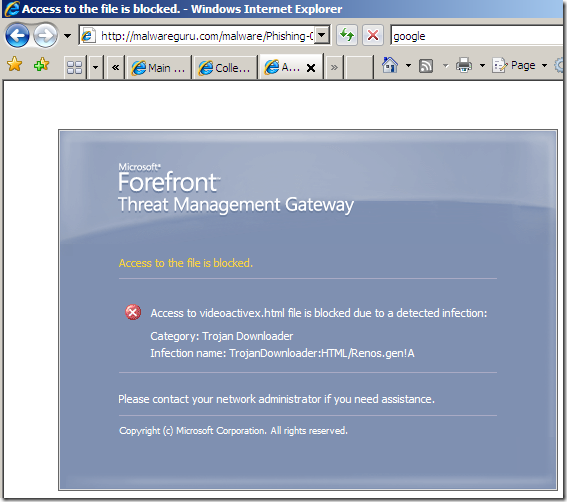
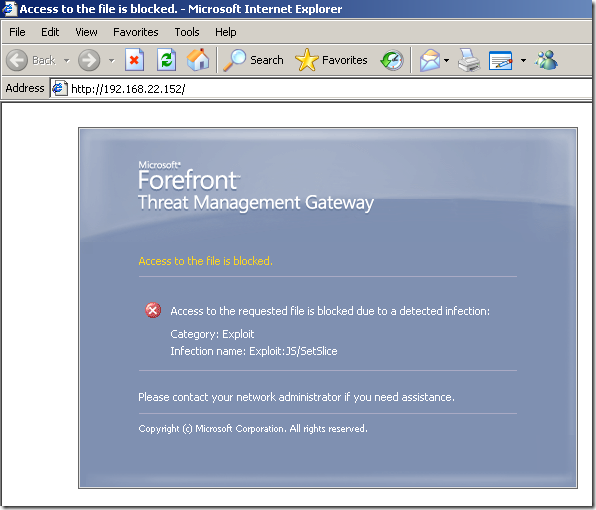
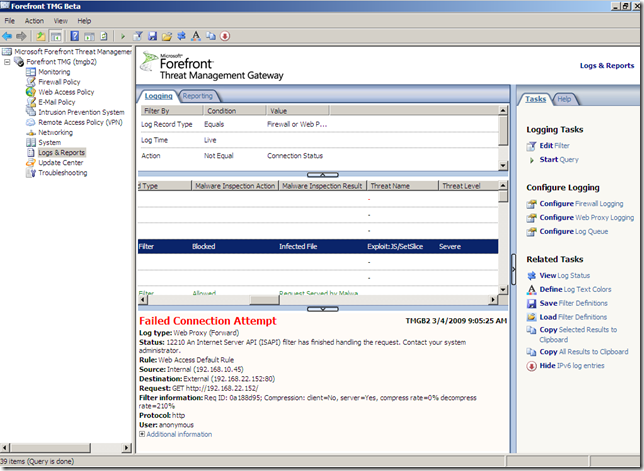
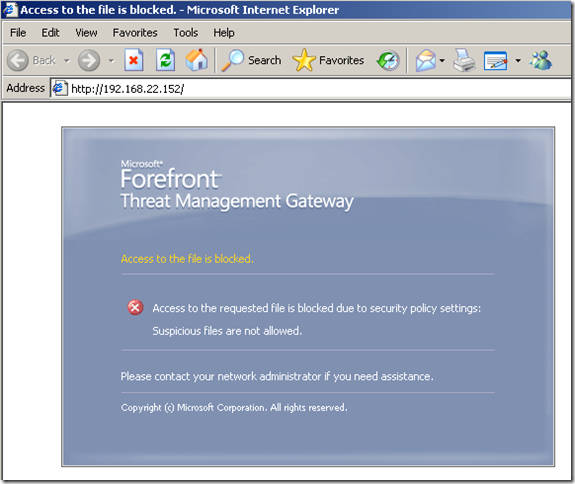
In the line of duty, malware inspection, either over HTTP or HTTPS, EICAR test:
Various tests:
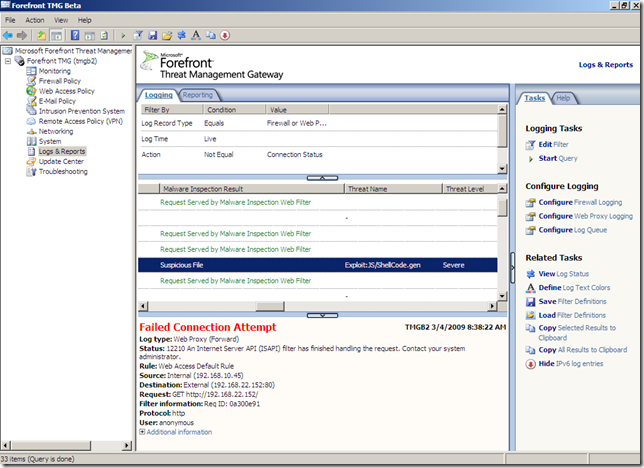
Intrusion Prevention System
This a new feature in the Beta 2 release.
We can access it from the Intrusion Prevention System node:
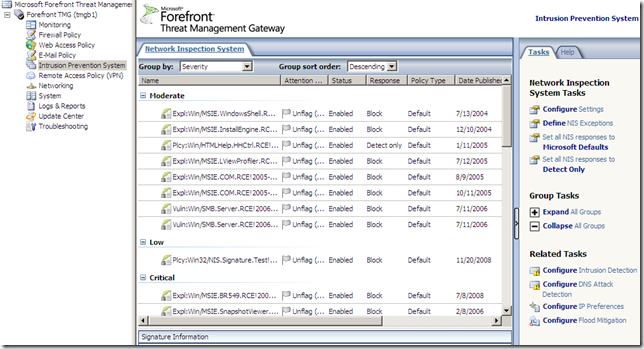
Also from the Intrusion Prevention System node, we can configure Intrusion Detection, DNS Attack Detection, IP Preferences or Flood Mitigation(which are also of accessible from the Firewall Policy node):
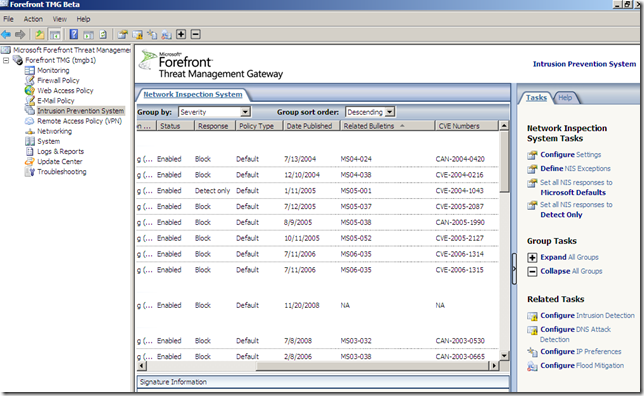
The signatures grouped by severity:
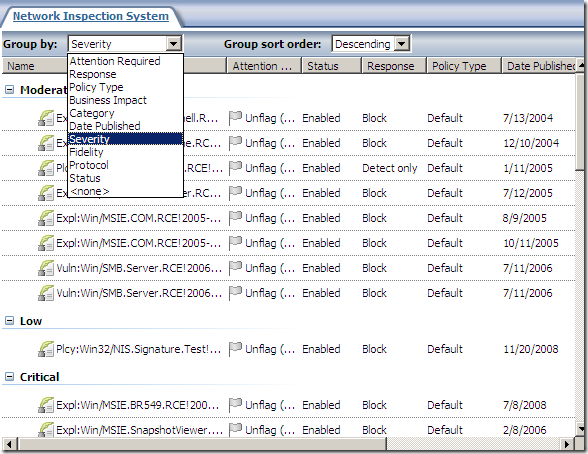
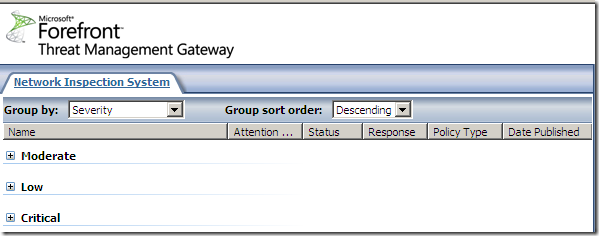
As can be observed from above we can set all NIS responses to Microsoft Defaults or to Detect Only.
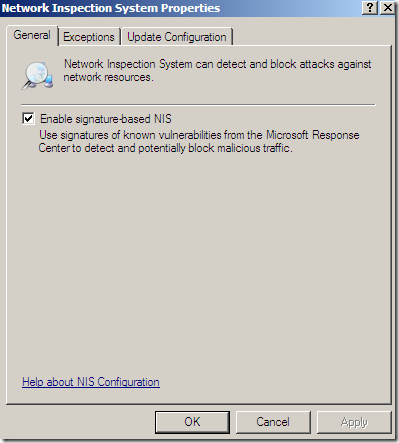
A few options are globally configurable, like Enable signature-based NIS:
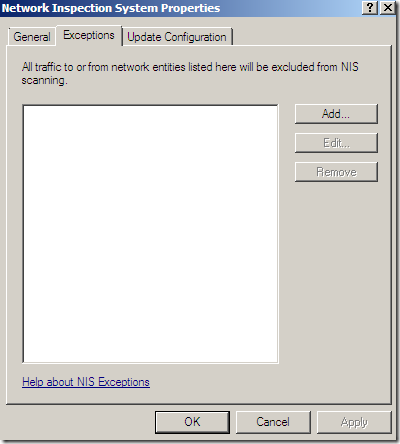
Exclude the traffic from or to the certain networks:
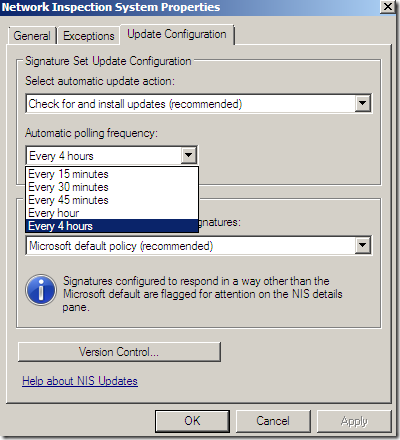
Update and install checks frequency:
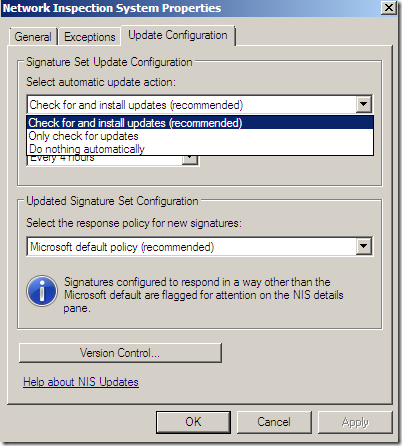
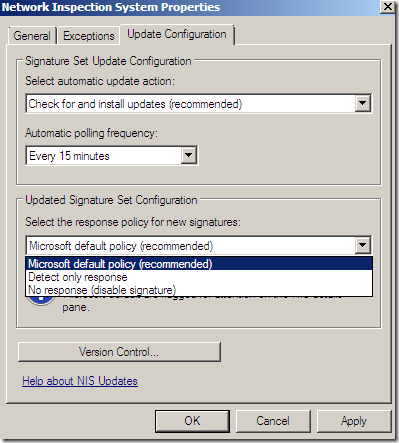
The default policy for new signatures:
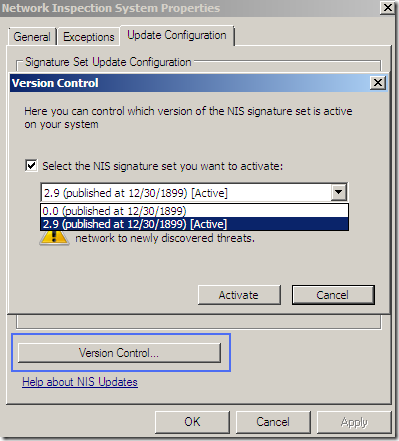
A weird NIS signatures version:
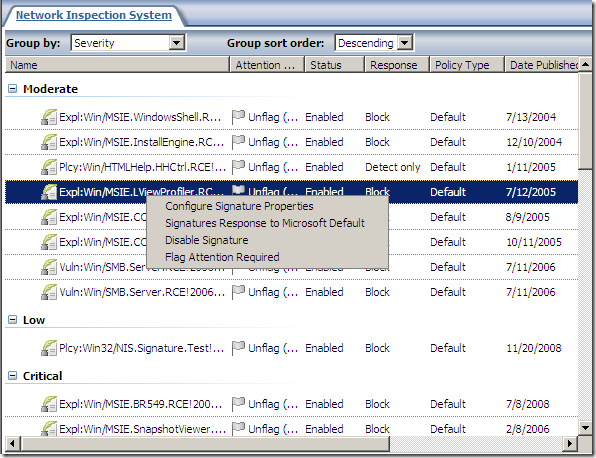
There are a few signatures.
We can view and and modify the settings for the signatures, if the signature is enabled with what response(for example to block):
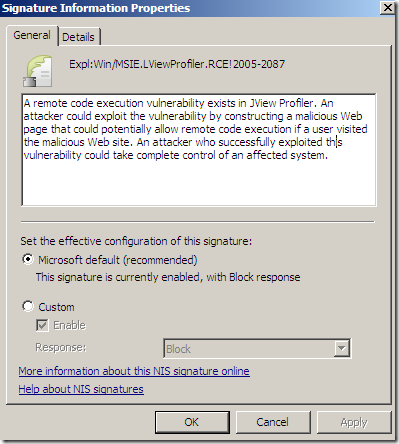
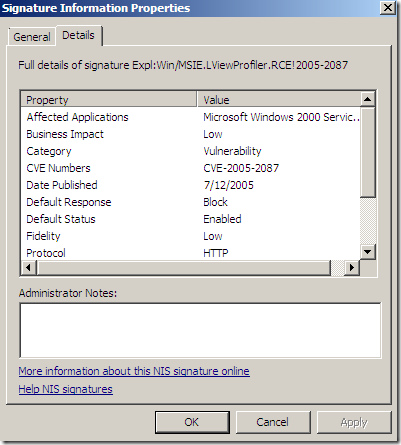
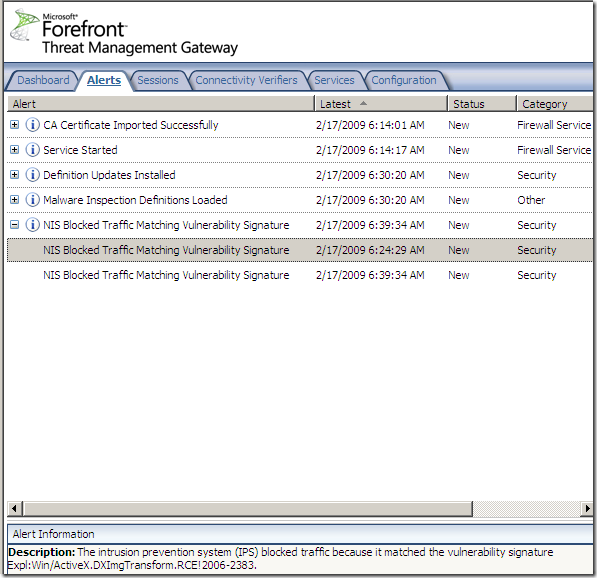
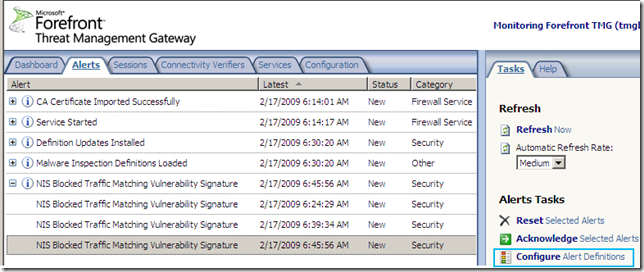
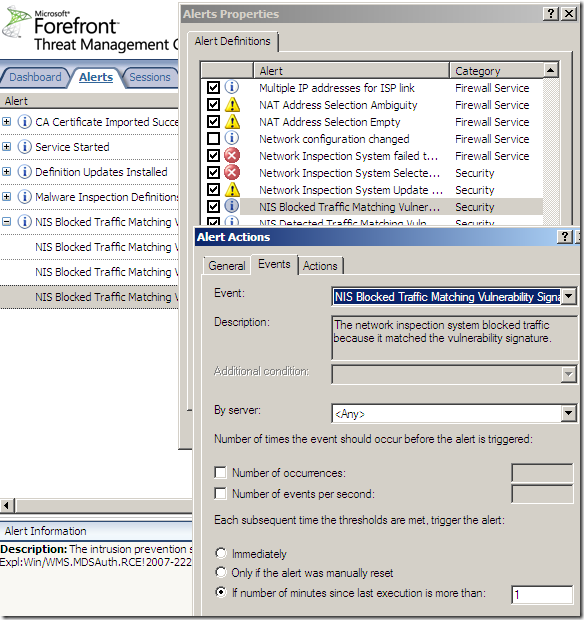
IPS Alerts:
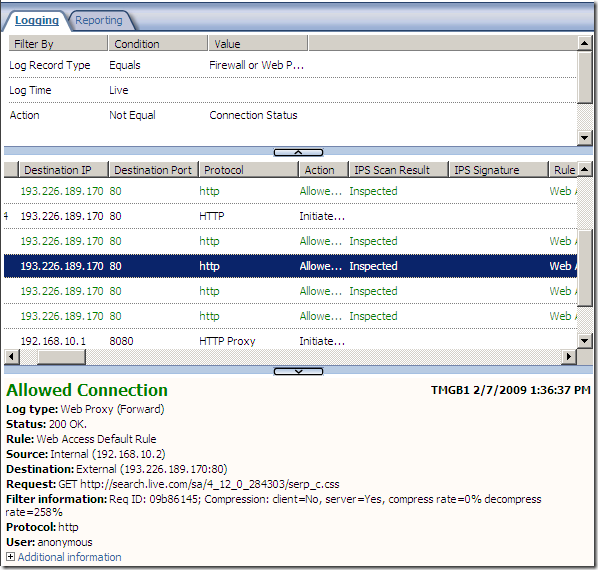
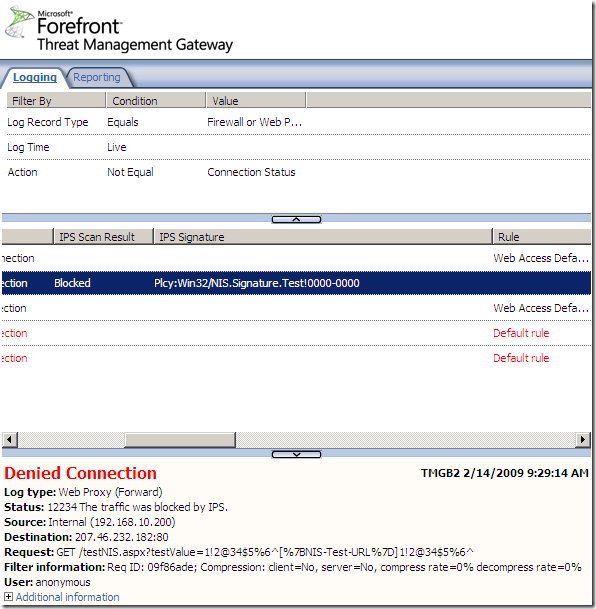
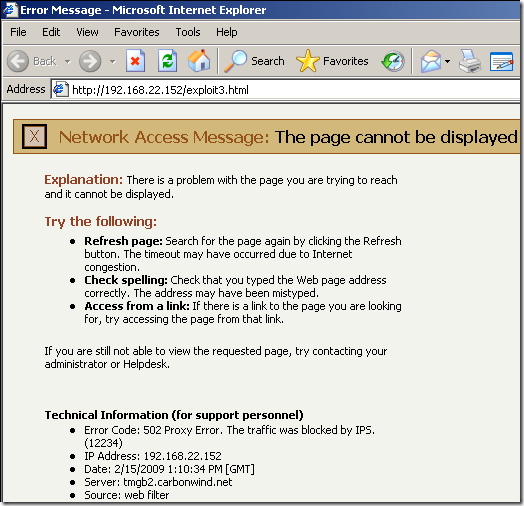
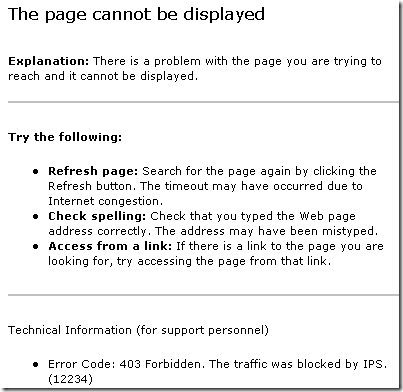
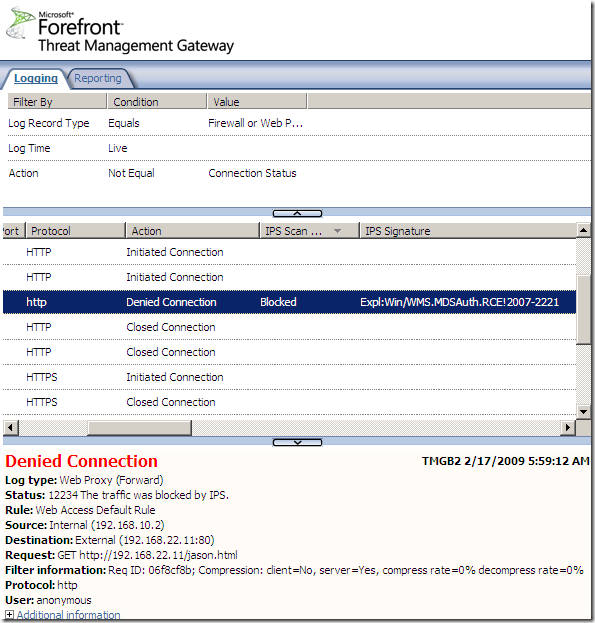
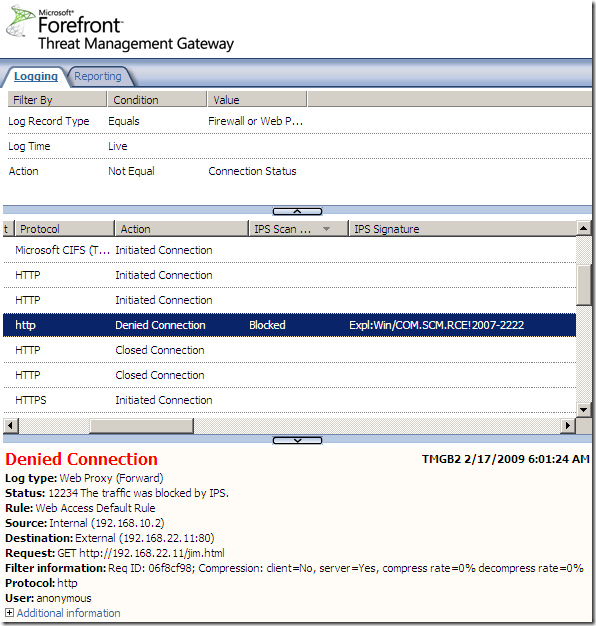
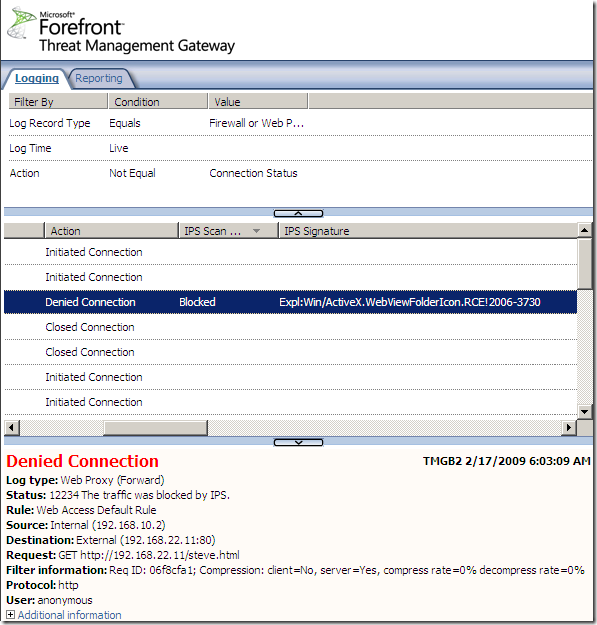
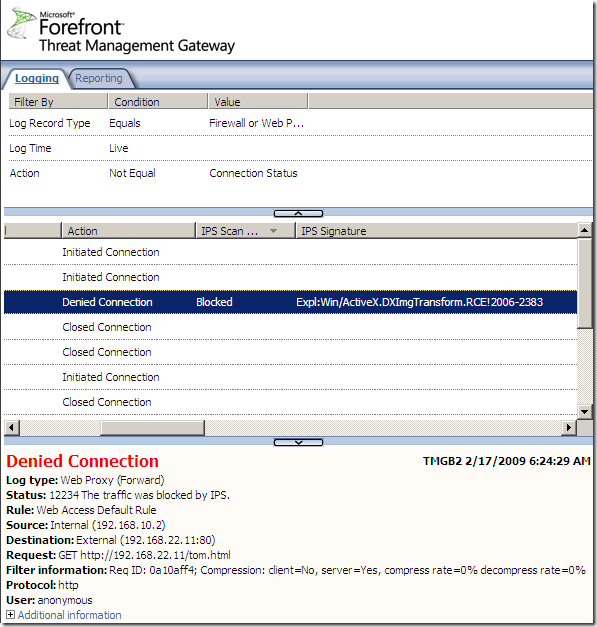
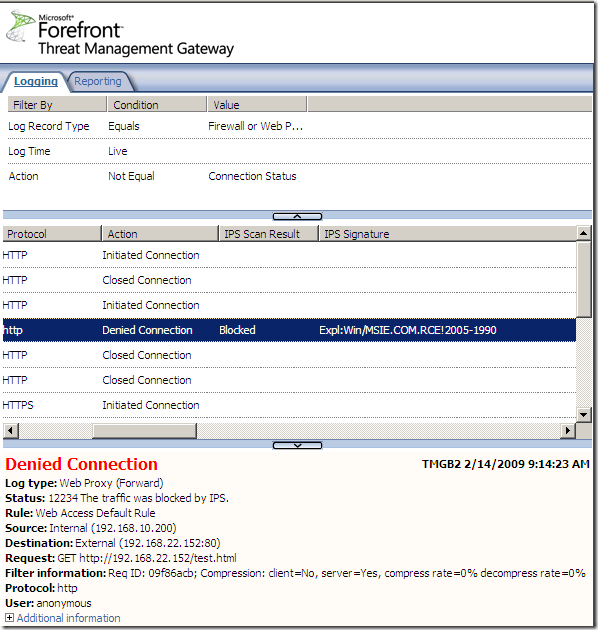
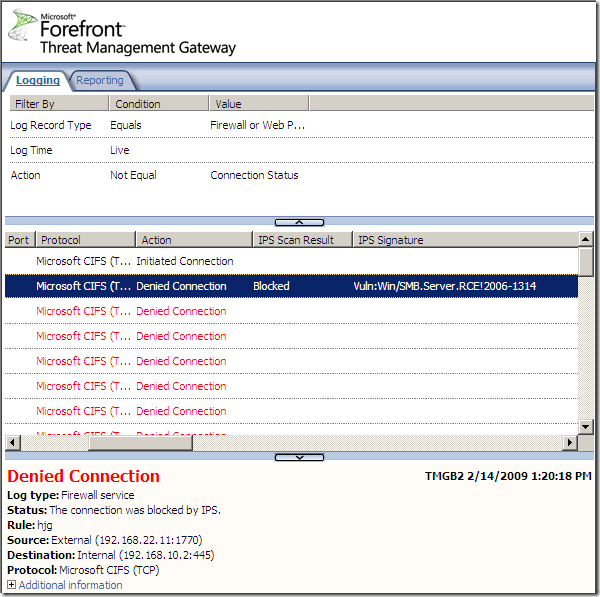
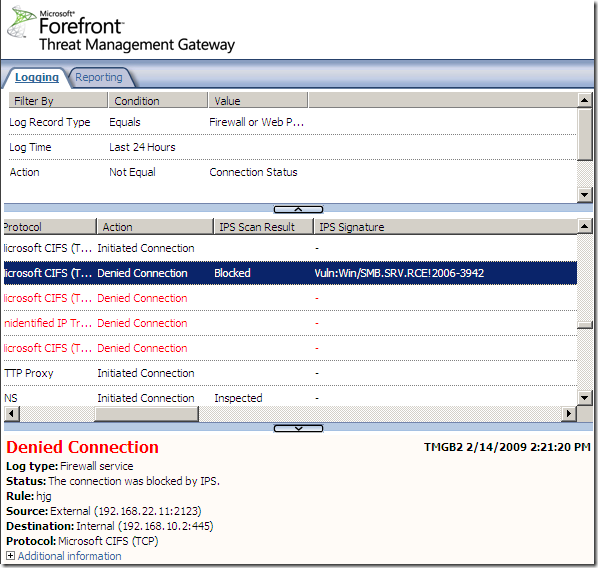
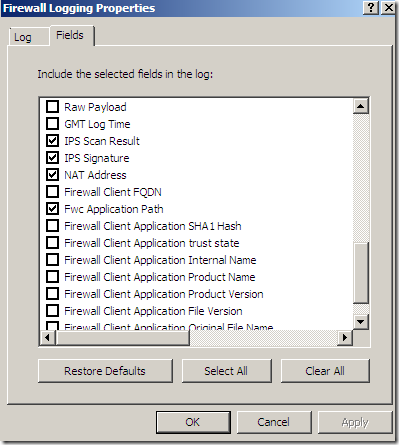
Logs, IPS Scan Result, IPS Signature and messages on the client side:
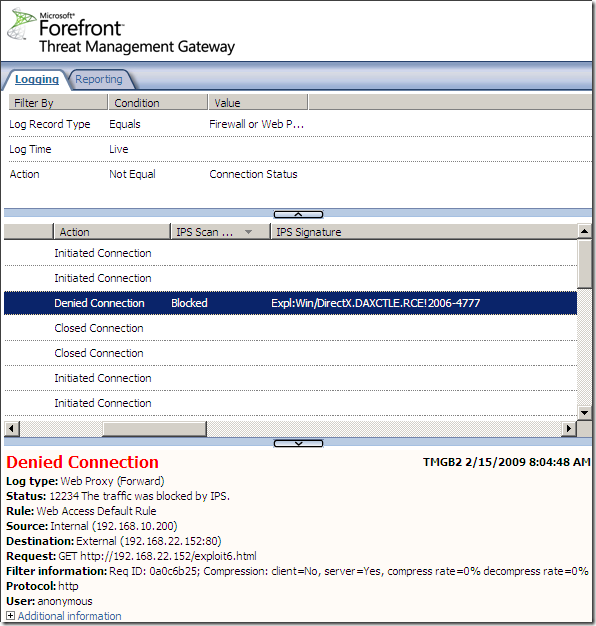
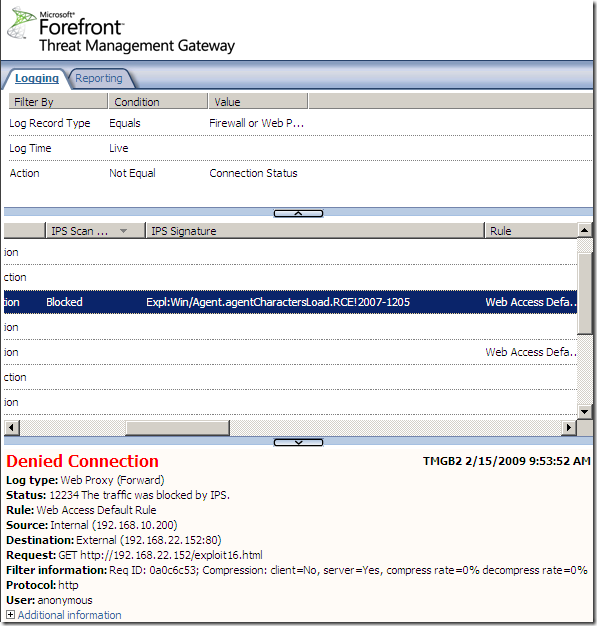
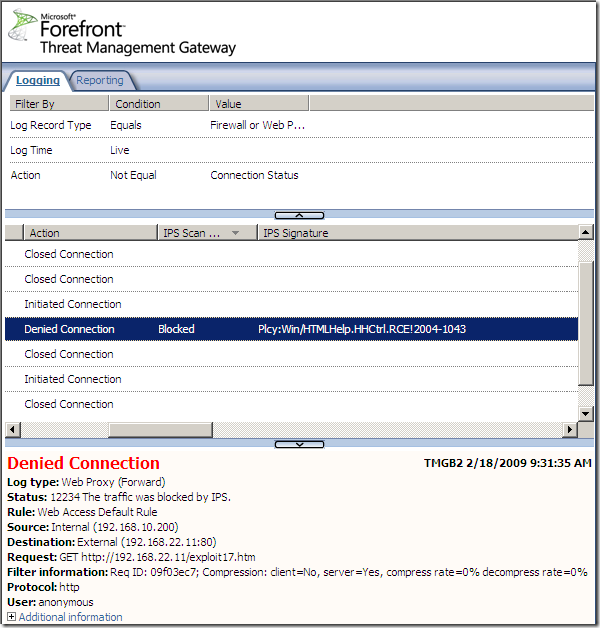
NAT Features
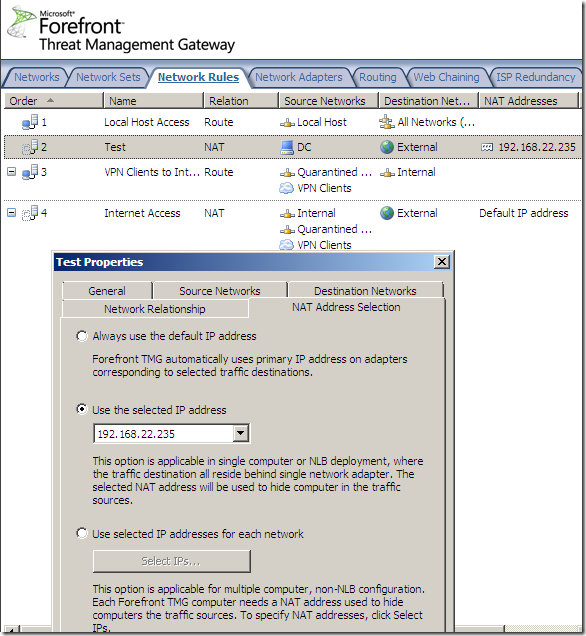
When we define a network rule with a NAT relationship we have a new option now, to select the IP address from the network adapter used to hide computers:
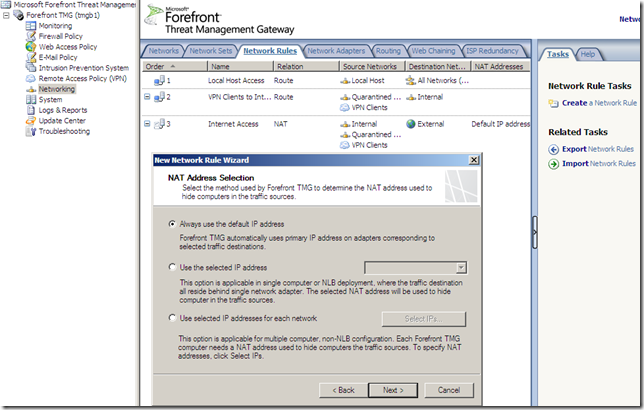
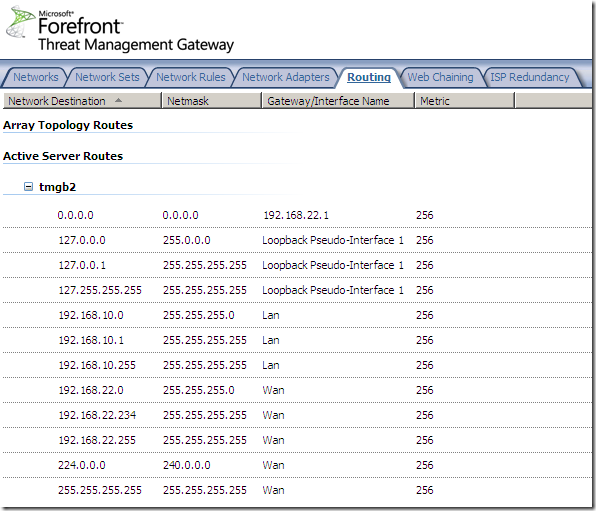
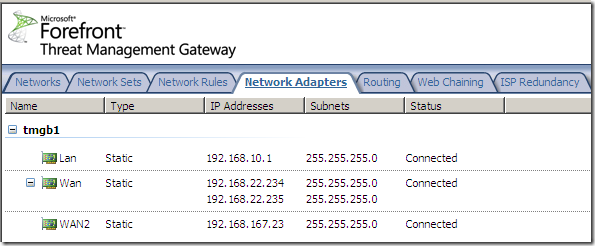
For example I can hide host 192.168.10.2 behind the 192.168.22.235 IP address:
ISP Redundancy
ISP redundancy is a new feature of this Beta 2 release.
Only two Internet connections can be used with this feature.
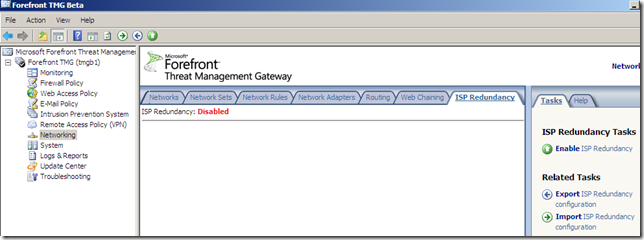
We can access and enable it from the Networking node, the ISP Redundancy menu:
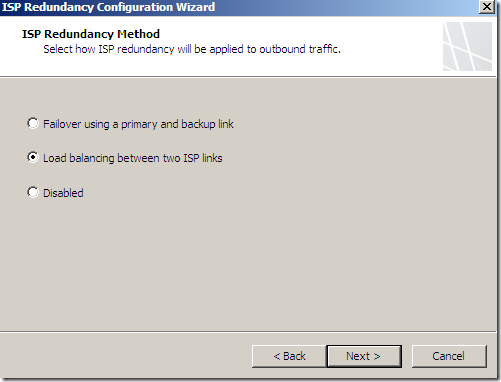
We can select Failover using a primary and backup link or Load balancing between two ISP links, for example let’s select load balancing:
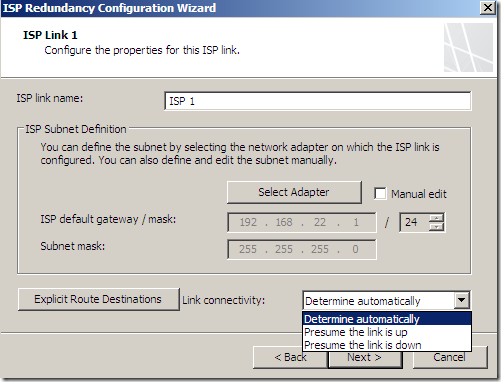
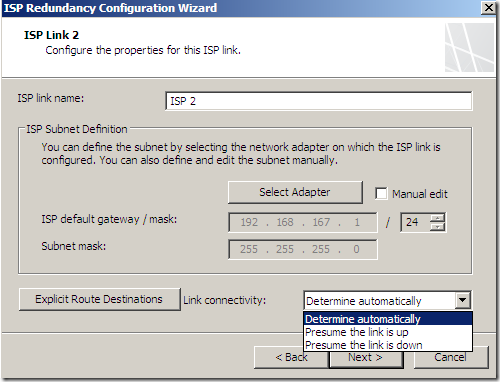
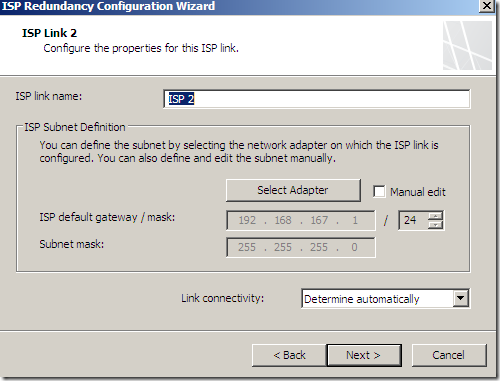
And specify the options for ISP Link 1 and ISP Link 2:
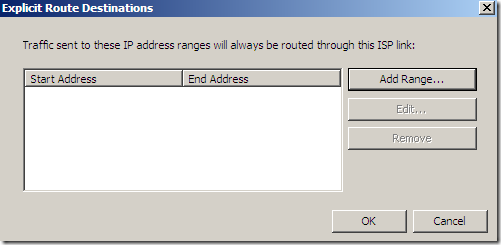
As can be seen, we can explicitly send the traffic to certain destinations over a selected link:
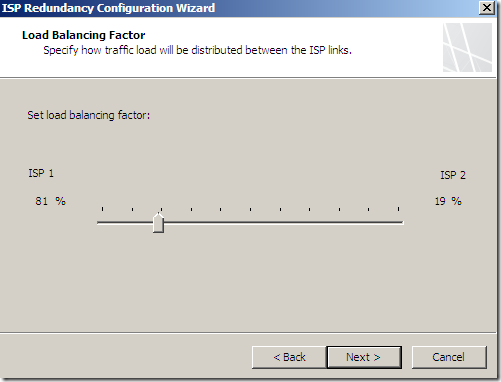
Choose a load balancing factor:
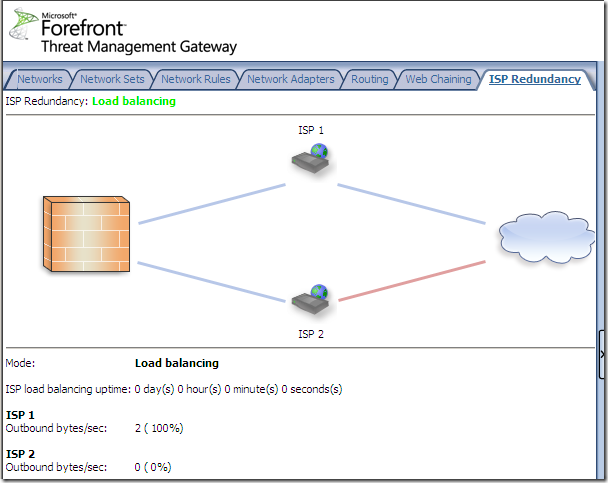
And Load Balancing is enabled, we can notice that ISP 2 Link is down for the moment:
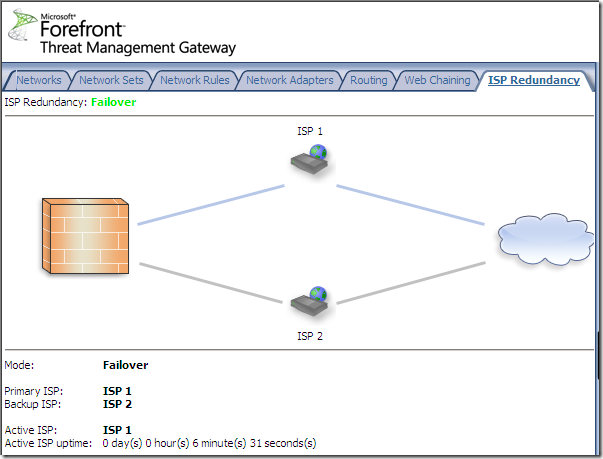
If we choose failover instead of load balancing:
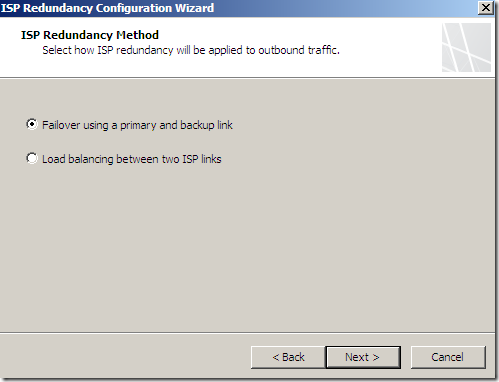
Then our options for ISP Links would look the same except we no longer see the Explicit route destinations one(since we now have a primary and a backup link):
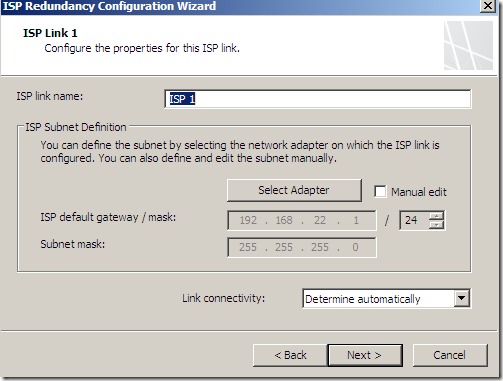
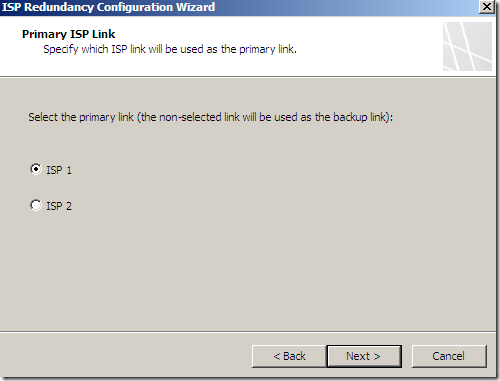
And obviously now we need to select the primary link:
Firewall Policy
The firewall options are nicely grouped and can be accessed from the Firewall Policy node:
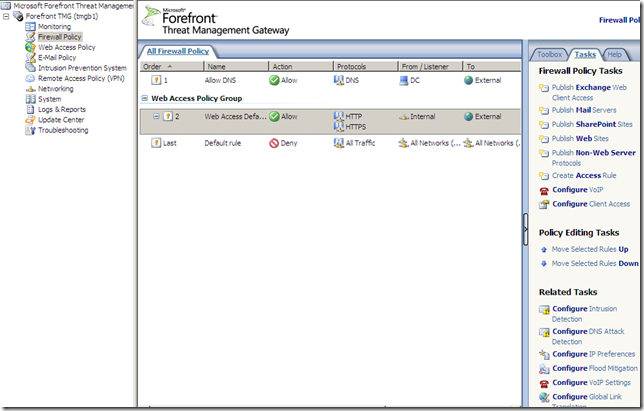
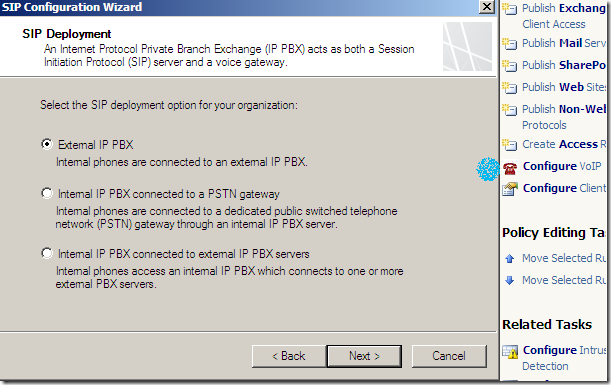
We can quickly spot a new option called Configure VoIP under the Firewall Policy Tasks, which starts the SIP Configuration Wizard:
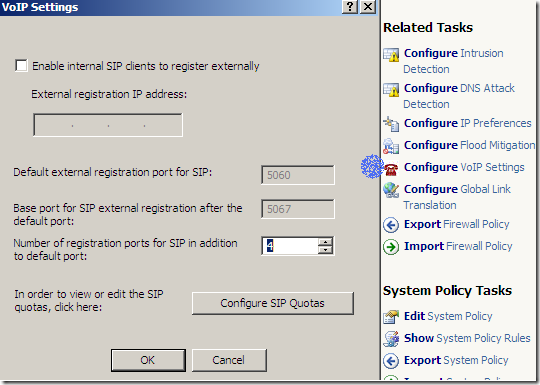
Also we have a Configure VoIP Settings option under Related Tasks:
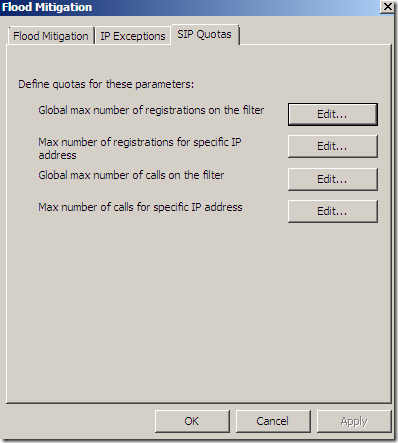
And the Flood Mitigation settings include a SIP Quotas tab:
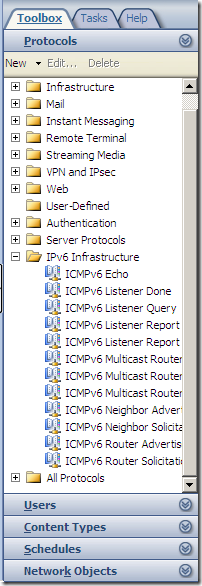
A quick look at the Toolbox/Protocols:
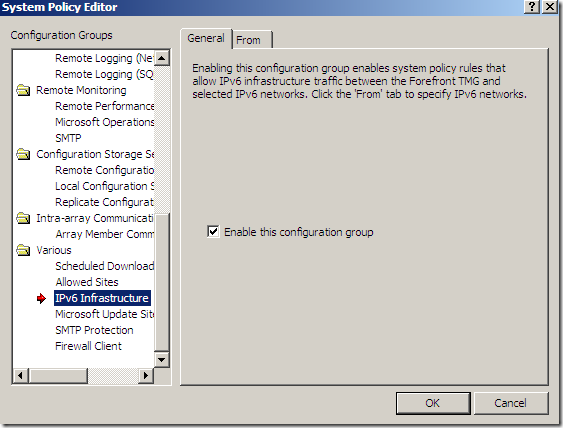
And the System Policies:
Forefront TMG E-Mail Protection Feature
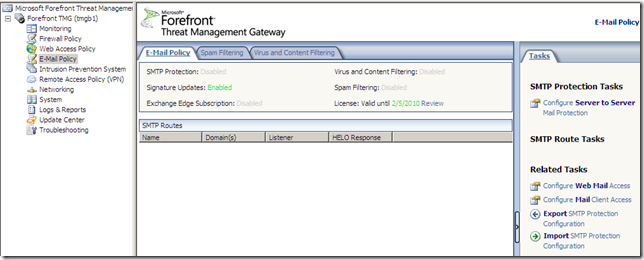
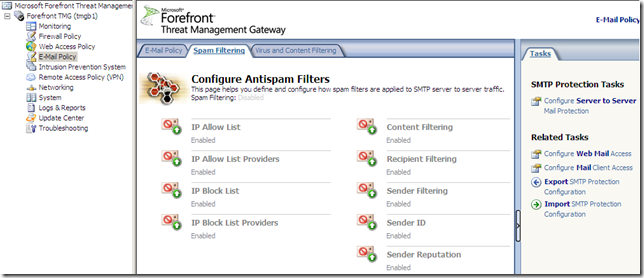
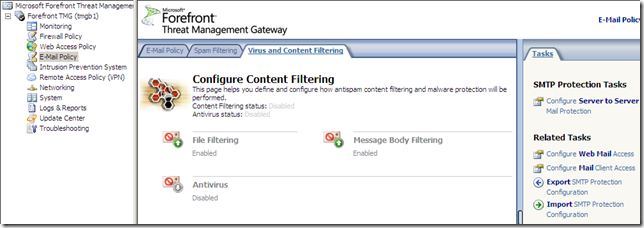
I didn’t install the Exchange Edge Transport Role of Exchange Server 2007 with Service Pack 1 on the Forefront TMG server, prior to installing Forefront TMG, so I can’t use the Forefront TMG E-Mail protection feature found under the E-mail Policy(you can find a little bit about it in the Forefront Threat Management Gateway Release Notes for Beta 2.docx from here):
The Roles Configuration and the System node
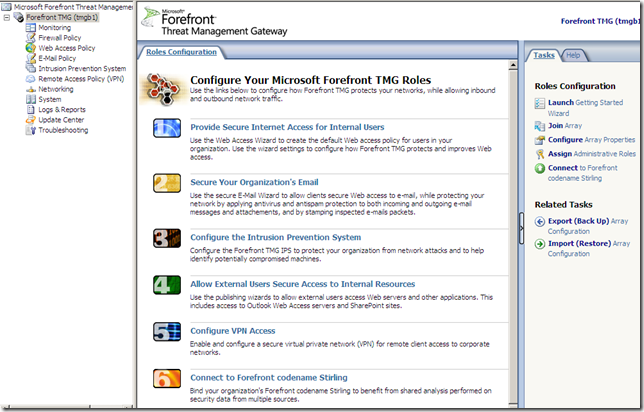
The Roles Configuration:
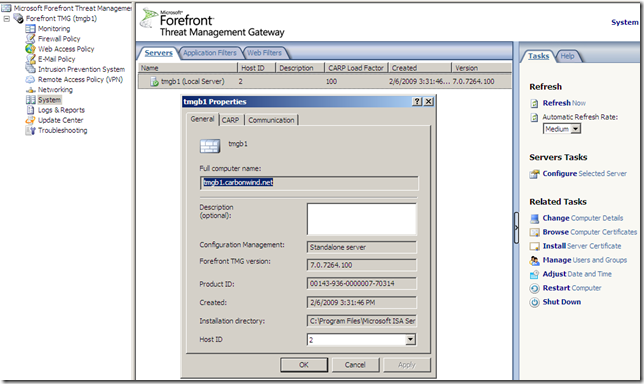
From the System node we can configure this TMG server(a local server):
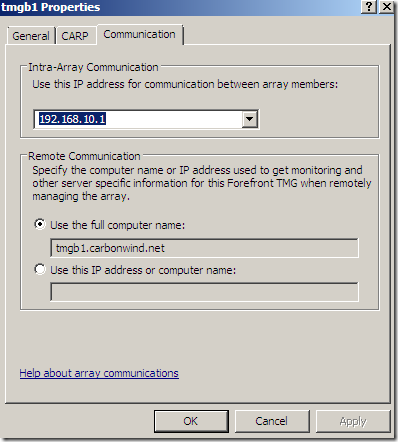
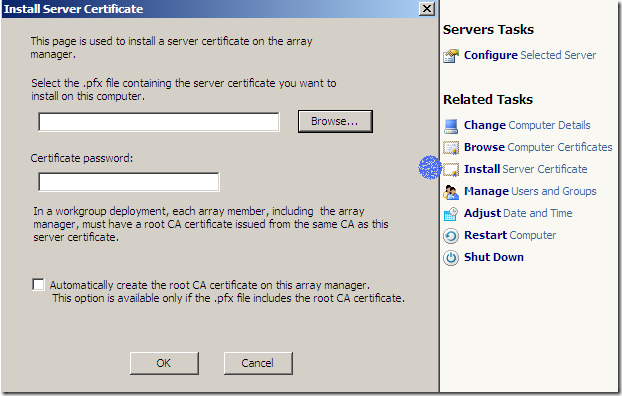
Also there are some Related Tasks we can perform, like install a server certificate:
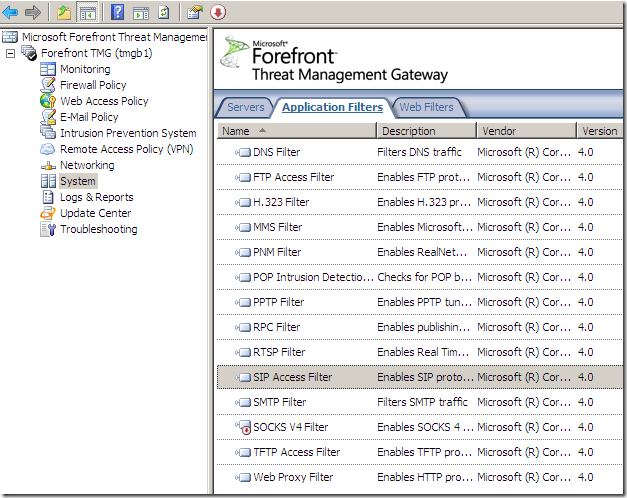
The Application Filters present on TMG Beta 2, note the new kid on the block, the SIP Access Filter:
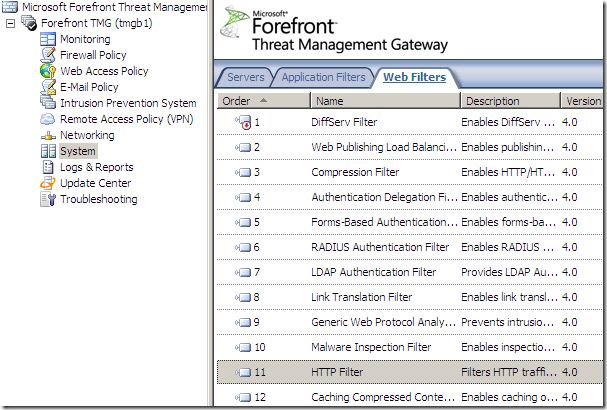
The Web Filters present on TMG Beta 2:
VPN
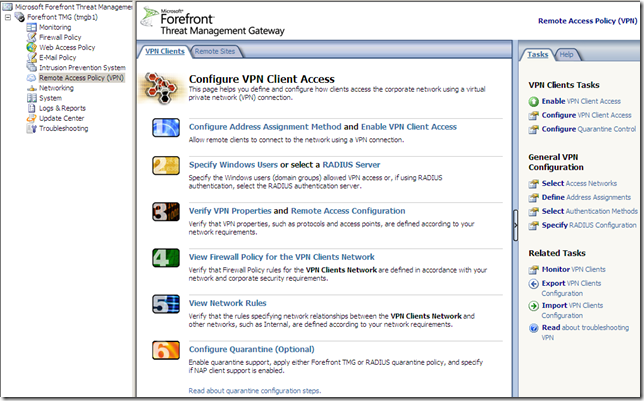
There isn’t much new stuff in the area of the VPN Clients:
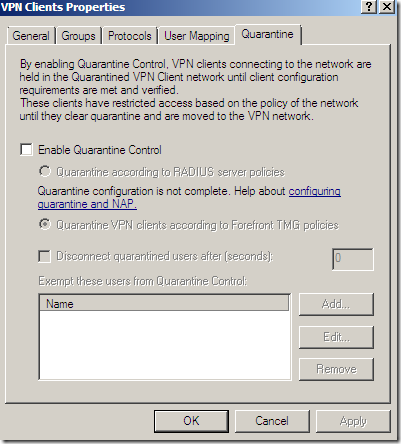
But we get NAP:
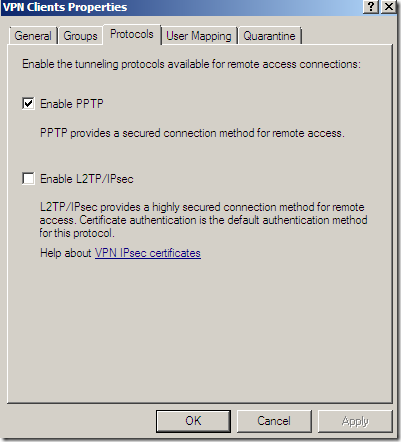
Same old protocols:
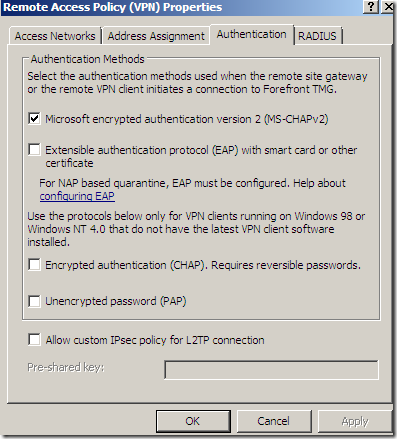
The authentication methods, almost same old screen:
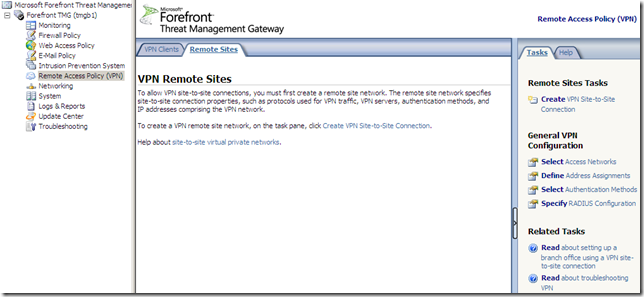
And the Remote Sites area:
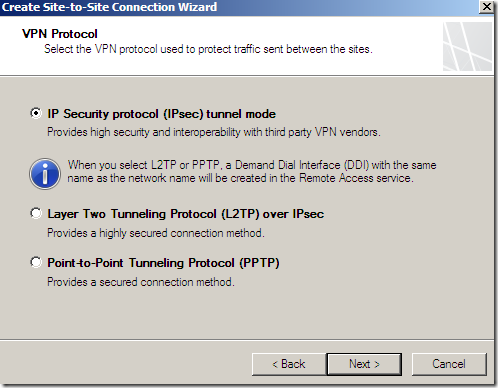
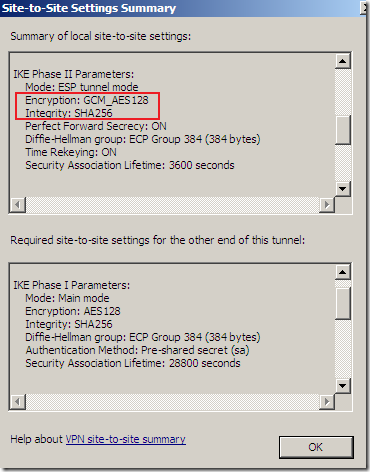
An IPsec tunnel mode s2s VPN, NSA “Suite B” cryptography:
http://www.nsa.gov/ia/programs/suiteb_cryptography/index.shtml
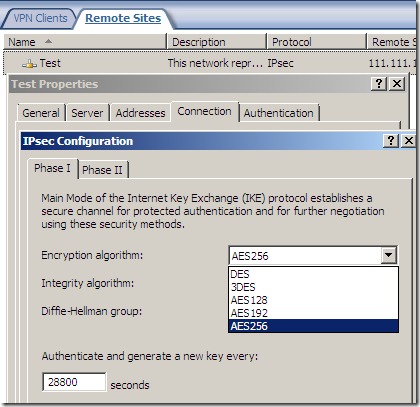
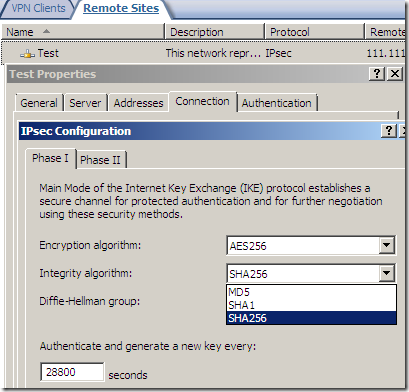
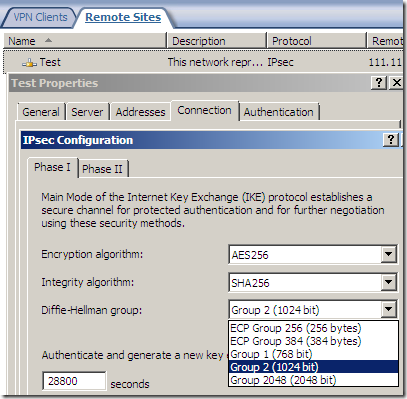
AES GCM is here:
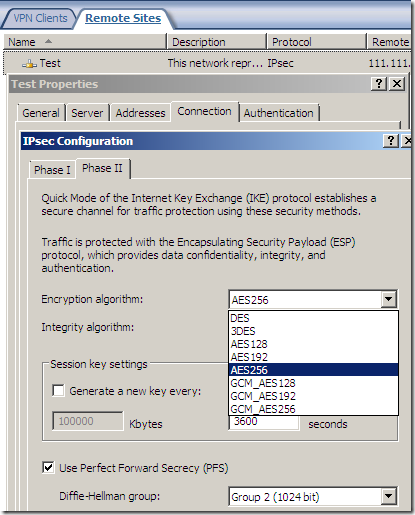
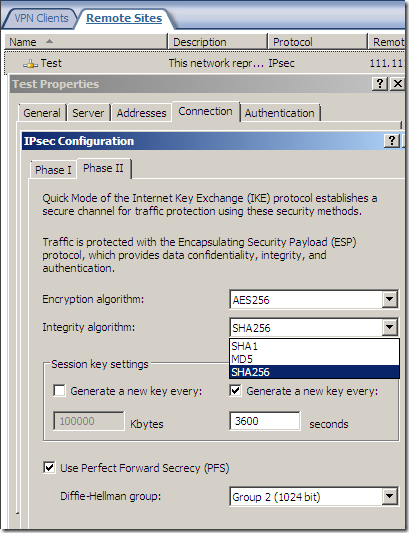
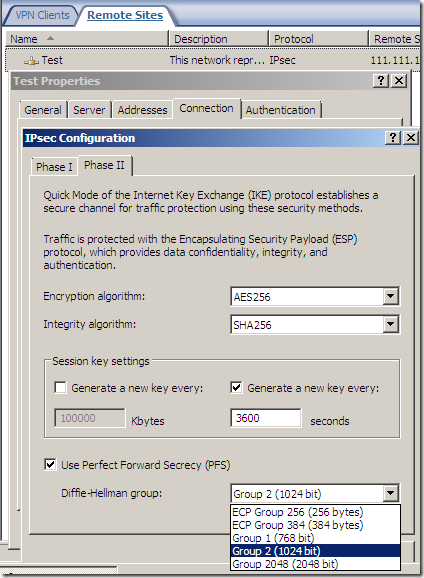
As said above, the fast AES GCM is here:
http://technet.microsoft.com/en-us/library/dd125356.aspx
http://csrc.nist.gov/publications/nistpubs/800-38D/SP-800-38D.pdf
http://www.ietf.org/rfc/rfc4106.txt
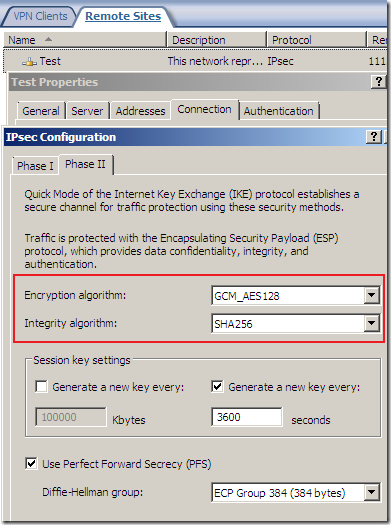
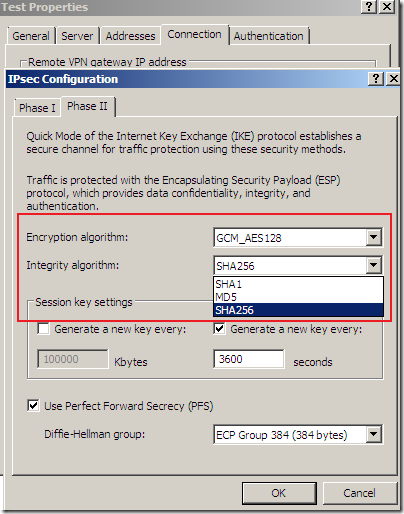
But something is not right or just confusing, as AES GCM provides both confidentiality and integrity(data origin authentication), being efficient, fast and secure, but the screens are not very clear on this matter(I haven’t test it), the Integrity algorithm field should go grey or so and not showing SHA or MD5, see bellow.
For example, from http://www.ietf.org/rfc/rfc4869.txt, “”does not specify an Internet standard of any kind":
“3.1. Suite "Suite-B-GCM-128"
This suite provides ESP integrity protection and confidentiality
using 128-bit AES-GCM (see [RFC4106]). This suite or the following
suite should be used when ESP integrity protection and encryption are
both needed.
ESP:
Encryption AES with 128-bit keys and 16-octet Integrity
Check Value (ICV) in GCM mode [RFC4106]
Integrity NULL”
Even Microsoft’s doc points this aspect:
http://technet.microsoft.com/en-us/library/dd125356.aspx#bkmk_aesgcm
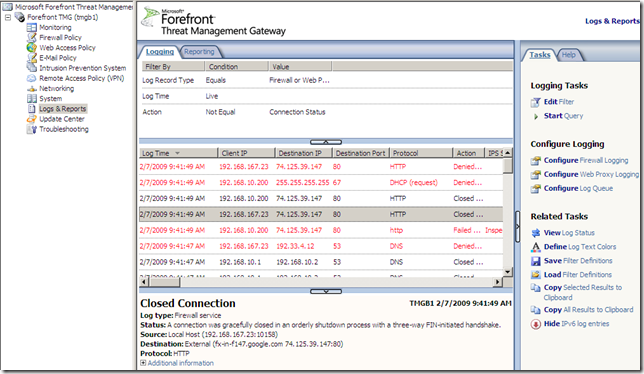
Logs and Reports
The logs and reports are grouped together under the node with the same name, Logs and Reports:
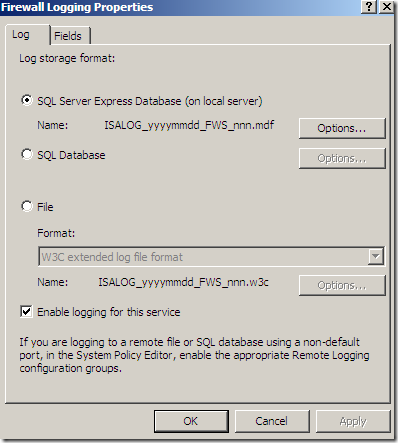
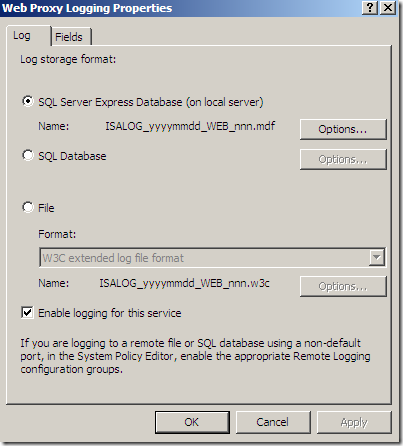
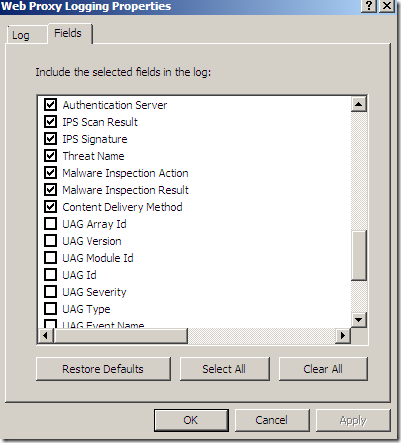
The default log storage format is set to SQL Server Express Database(on local server) for both Firewall Logging and Web Proxy Logging:
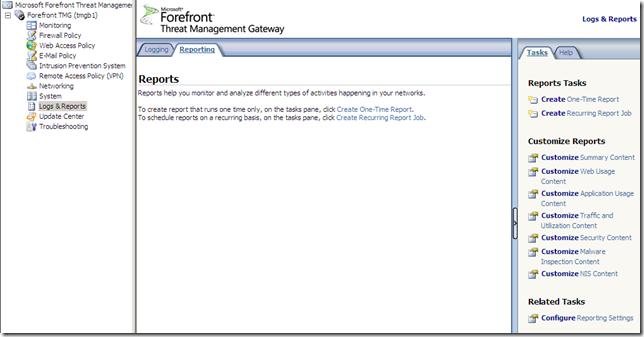
The Reports area is also nice and clean:
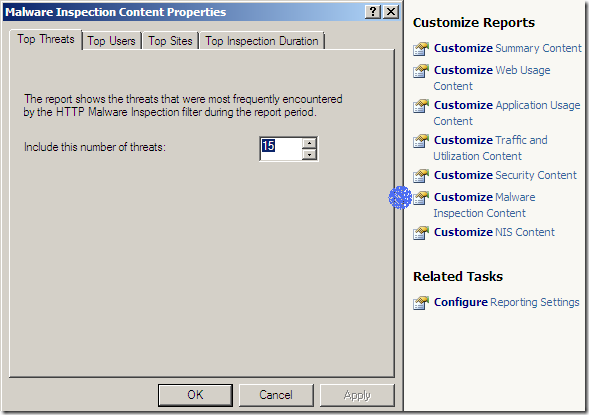
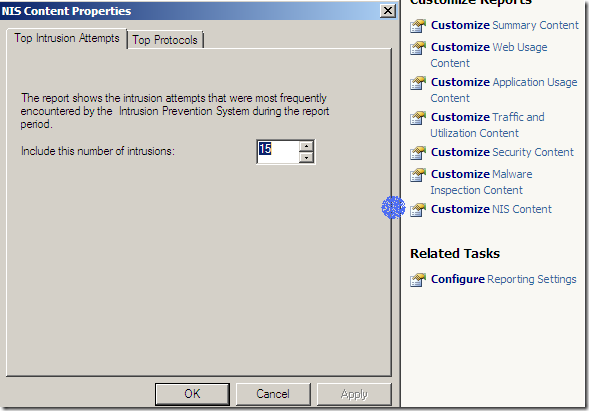
Reports include the new features Malware Inspection and NIS:
Monitoring
As we seen, unlike with ISA Server 2006 the Logs an Reports are separated from the Dashboard, Alerts or … areas, and the management interface looks cleaner and easy to use.
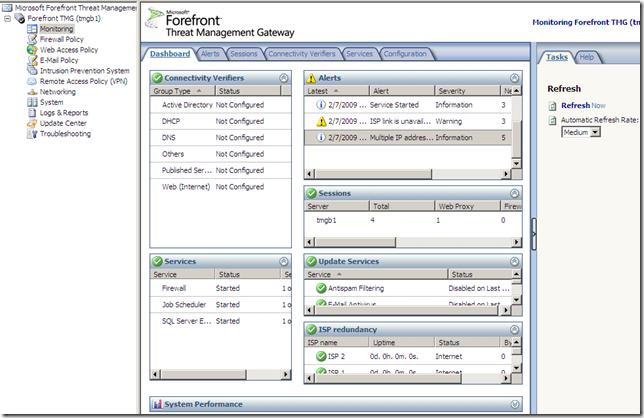
The Dashboard tab:
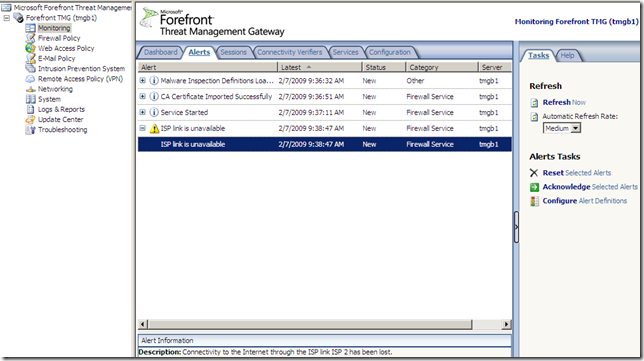
The Alerts tab:
The Configuration tab:

Update Center
The Update Center node, again options nicely grouped:
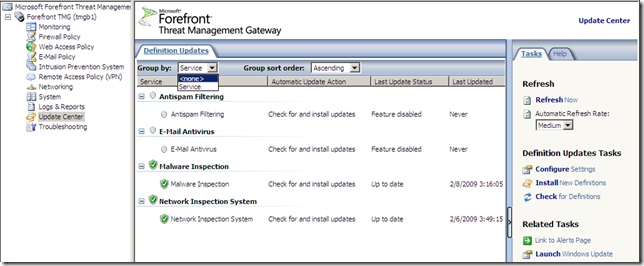
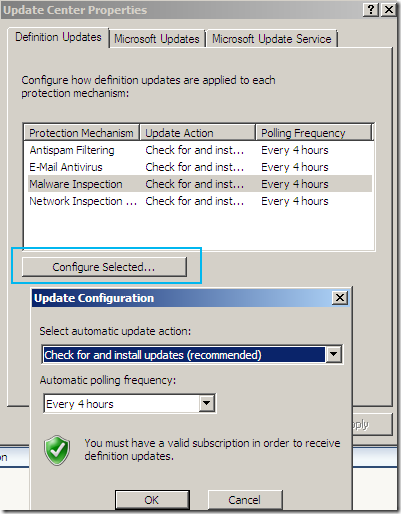
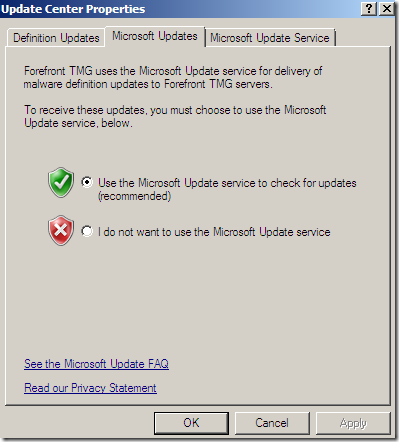
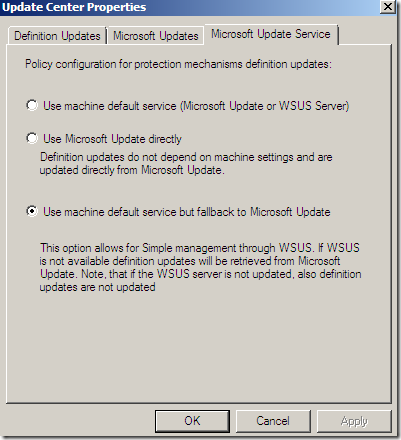
Configure Settings, a central place to manage all the updates settings:
Troubleshooting
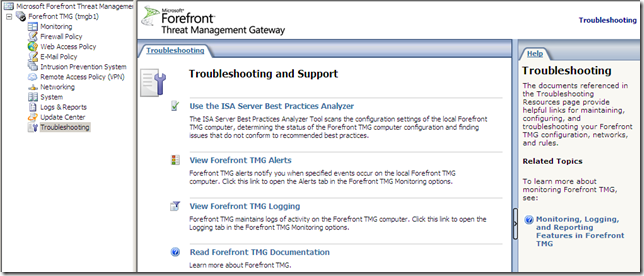
The Troubleshooting node:
